Welcome to Daasity. Please Follow the Steps Below to Connect Your Shopify Store with your Daasity App.
How to Setup
Please be sure to sign in (https://app.daasity.com)
- Click Integrations
- Click New Integration

Click the Shopify or Shopify PLUS logo, depending on which platform your store is on.
NOTE: **An ADMIN OF THE SHOPIFY STORE MUST SETUP THE ACCOUNT**
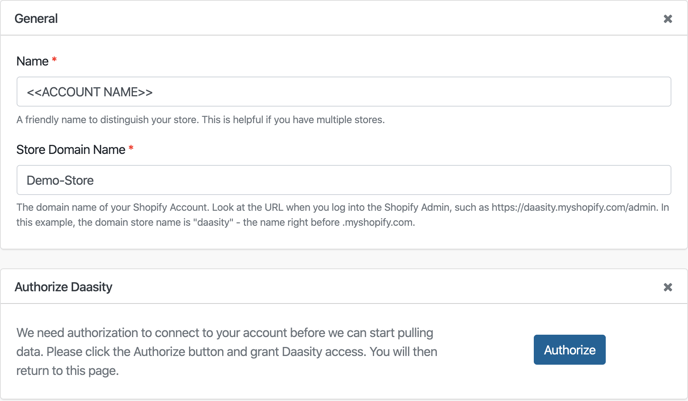
Fill out the Shopify Integration information.
Name: Most prefer to name this the brand name.
If you have multiple Shopify instances, make sure to distinguish them in their name here.
Store Domain Name: the subdomain of your Shopify admin url.
Please do not include https://
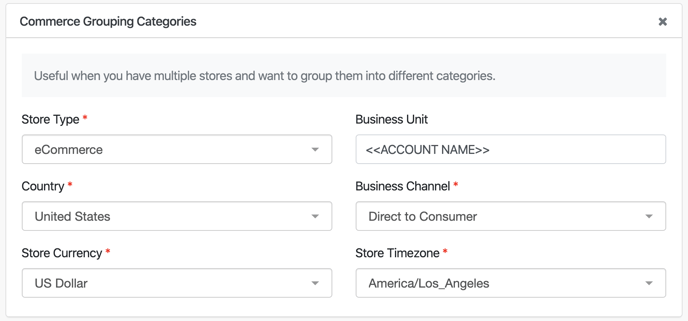
Optional Grouping Categories
Store Type: Choose the appropriate sales type for this Shopify instance, usually ecommerce.
Business Unit: This is useful if you have multiple Shopify instances.
Country: Most often United States, but choose the corresponding country if this is for an international Shopify store.
Business Channel: Choose D2C or B2B.
Store Currency: The system of money used for transactions.
Store time zone: The time zone your business operates within.
Click the green [Create] button in the top right corner.
Once created, you'll need to Activate the integration. Click on the green arrow.
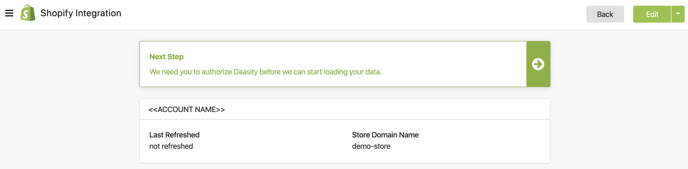
This will redirect you to Shopify and display a screen asking permission to grant Daasity access to your Shopify Data.
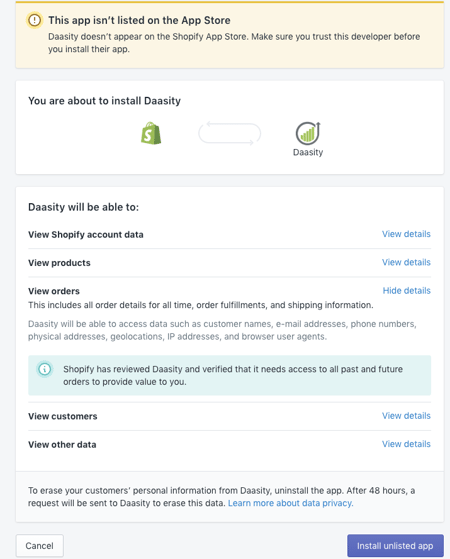
Click the [Install unlisted app] button. You will then be redirected back to the Daasity App.
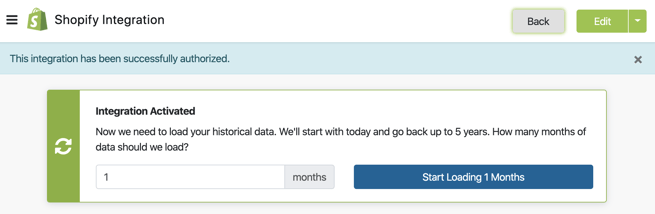
After the install completes, you'll need to load history.
- Please enter the number of months you've been active on Shopify. Be sure to click the blue button to start the history load.